If you are building any web application that involves creating, reading, updating, and deleting information of any kind, it will be very common that the privileges to perform these different operations on data will have to be shared among your users according to their different roles and permissions on your application.
Take a school management application for example. Users of such application typically fall within the categories: Students, Teachers, Head of Departments (HOD), and so on. Your application should NOT allow a student to have the privilege to add or update their results for the semester exams. That would be the function of a Teacher. And when a new course or subject is to be added to the curriculum, it is the work of only the Head of Department to add that course on the system.
On such a system, we can refer to Student, Teacher, HOD (Head of Department) as the different roles in our application. As for actions such as adding and updating student results, adding new courses, we will refer to these as the permissions.
adFrom the explanation so far, one can already deduce that a User will have one Role and a role will have multiple Permissions. For example, John (a user) will have one role (Student) and multiple Permissions (register course, view marks, print transcript, etc).
This means that in our MySQL database we will require 3 principal database tables: users, roles, and permissions. We are required to have a Many-To-One relationship between users and roles database tables (One role belongs to Many users), and a Many-To-Many relationship between roles and permissions tables (Many permissions can be assigned to Many roles).
The way you refer to these roles is up to you. In our example, we have been using Student, Teacher, HOD to represent the roles because the example was about a school management application. If you were working on a hotel management application, the roles may be something like Manager, Cleaner, Receptionist and the like.
In this tutorial, we are building a user accounts management system for a blog application. So we will refer to these roles as Author, Editor, and Admin. Of course you can change them as you like but these three are almost a standard for content management systems.
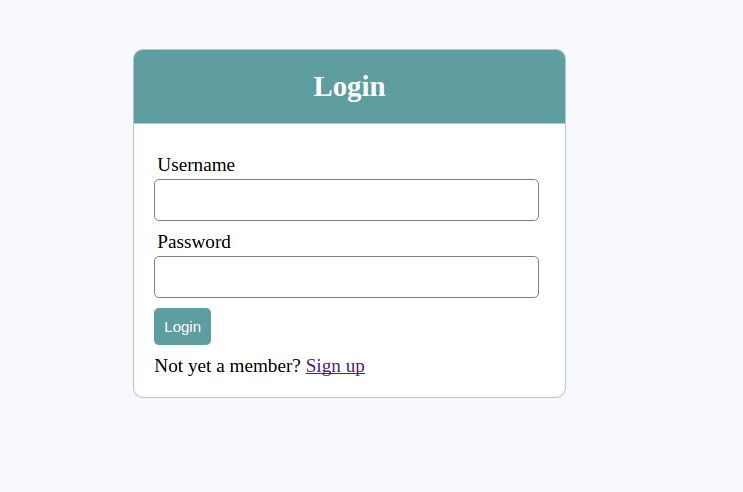
A full admin/user registration and login system will be implemented. All users will log in through the same login form and once logged in, administrative users only (Authors, Editors, Admins) will have access to the admin dashboard while normal users will be redirected to the public homepage.
We will create a posts database table in our database so as to have something to test our permissions on. For example, a user with the role of Editor will be able to edit, update, publish, unpublish and delete any and all posts, while an Author will only have the permission to create, read, update and delete only those posts which have been created by themselves. Admin will have the permission to create, update, delete other administrative users and roles and also to assign/un-assign permissions to roles and roles to users.
vli_ad
NOTE: I already made a tutorial on Creating a complete blog application from scratch. So we will not actually implement creating, deleting and updating posts here. We will just demonstrate how these permissions work around posts. If you want to learn how to create a blog with posts, check out my other tutorial on how to build a blog in PHP.
Project Directory Structure.
Create a project folder called user-accounts and then create three other folders inside it: admin, includes, assets, each having the following subfolders:
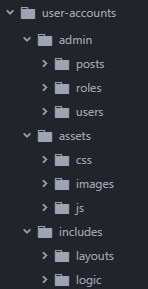
admin: This folder holds source code for admin part of the application. In this folder, create three other folders namely, posts, roles, users.
assets: This will hold public files that will be accessed by the browser such as images, css, js. So inside assets, create images, css and js folders.
includes: This will hold patches of source code for our application that we can include in different places in our application. Inside this folder, create two other folders: layouts and logic.
At this point, our project structure is all set. We can now start coding up the system. We will do that in the next part of this tutorial.
Thanks for your attention and I hope to see you in the next part.
Awa Melvine